Momentous School 4th grade teachers share this back-to-school strategy designed to help teachers create a virtual classroom for distance learning. By Ashley Tant and Katherine Probolus, Fourth Grade Teachers
Momentous School 4th grade teachers share this back-to-school strategy designed to help teachers create a virtual classroom for distance learning.
To people who aren’t teachers, a classroom can just look like a place where kids go to learn. But to teachers and students, a classroom is so much more than that. It’s a safe place for kids, no matter what else may be happening in their lives. This is why teachers spend so much time at the start of the year setting up their classrooms and changing them throughout the year. So much of the learning experience depends on creating a space where kids feel safe.
Last year when our school closed and students were sent home to continue learning virtually, we found that many students shared spaces with siblings, which was different from what they were used to in the classroom and sometimes made it difficult for them to find a classroom-like space to work.
This year as we start back to school virtually, we knew that we needed to create a space that was just for our class that was safe and welcoming and brought a bit of joy into our students’ lives when they logged on each morning.
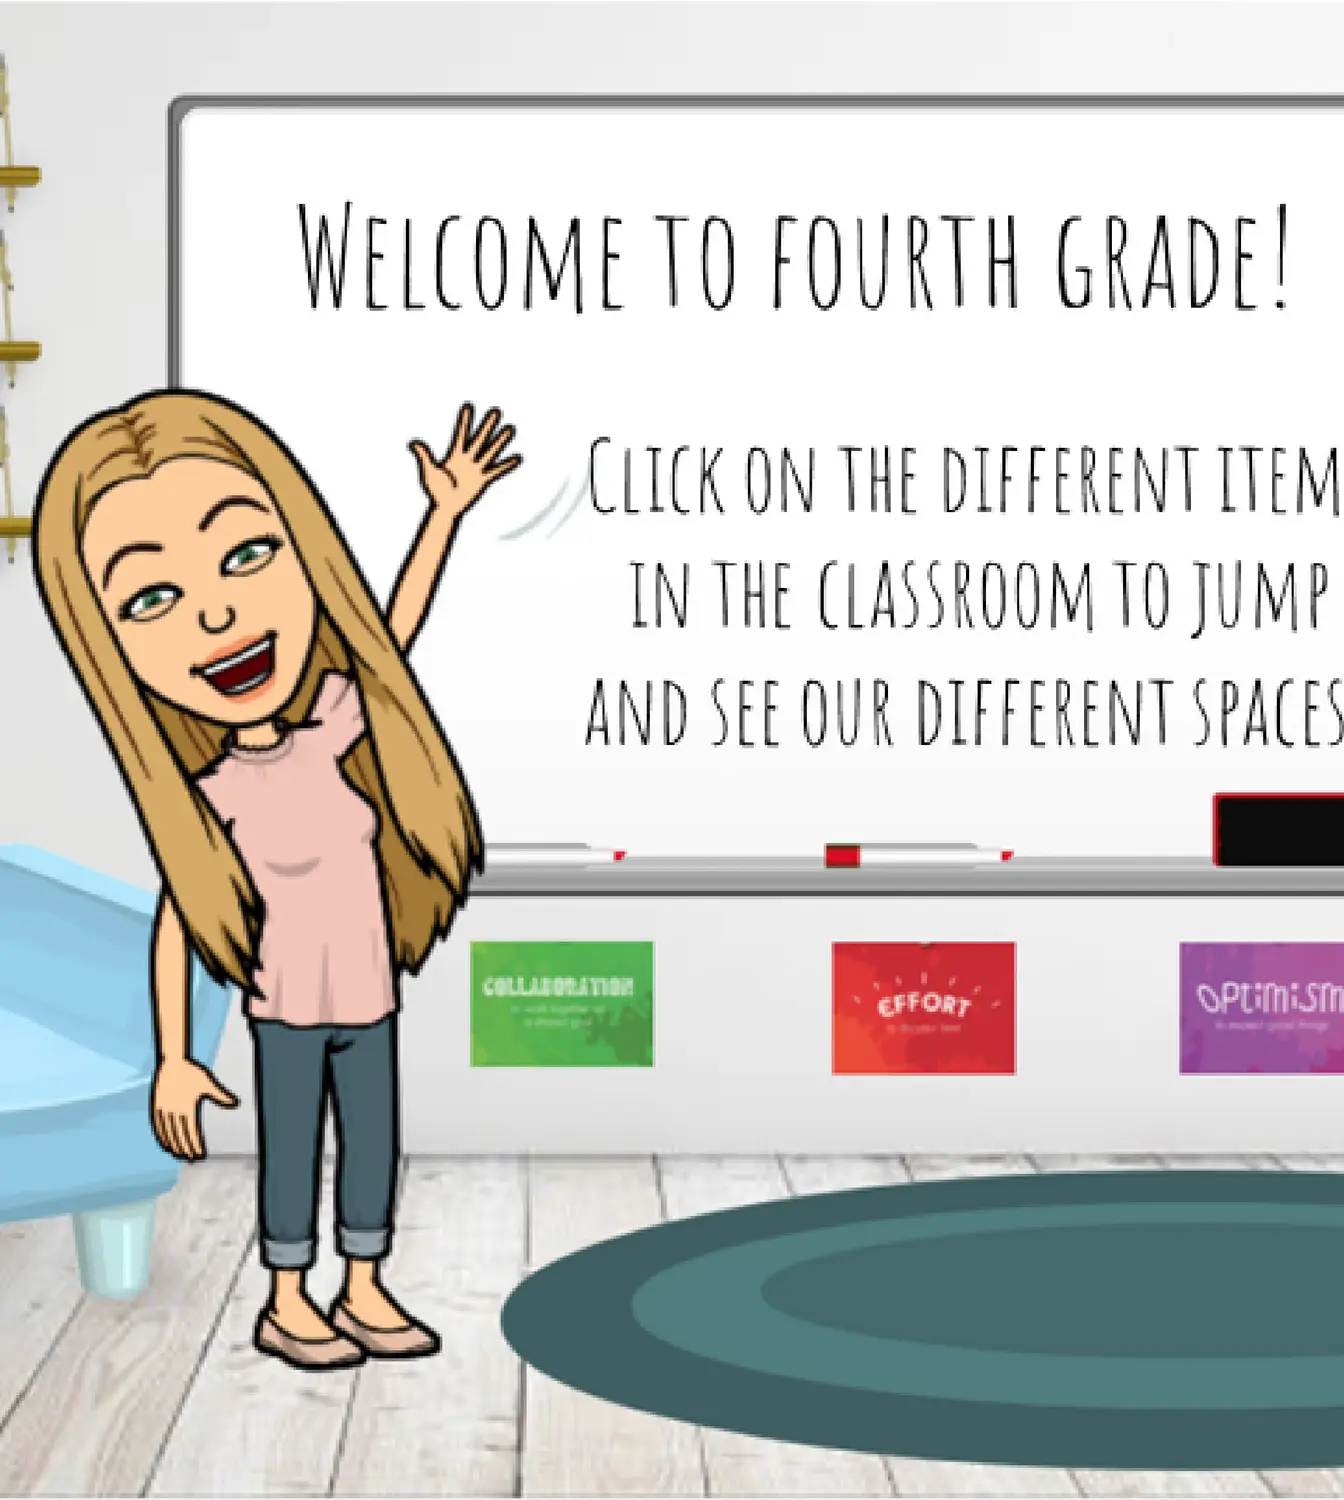
Enter the bitmoji classroom.
Our bitmoji classroom serves as a home base for our class. Students can access it any time and they can click around to various spaces to see what we’re working on, our calendar, and any learning resources. Parents can log on as well to see what students are learning. Students can pop into the bitmoji classroom if they’re early for a Zoom call, or if they want to read a book or work on their online learning.
Here’s how we made our bitmoji classroom.
In short, the classroom lives in a presentation in Google Slides or Microsoft PPT (we used Google Slides), and each section of the classroom is its own slide. The first slide is essentially home base, and then there are items in that first image that students can click to visit other “areas of the classroom” (clicking the image jumps students to a different slide). So basically we have about 8 or so slides each with their own little setup.
Here’s what you need:
Step 1:
So you have a bitmoji character on your phone, and you’ve installed the Google Chrome extension listed above? Great. This allows you to access your bitmoji on your computer. This just has to be done once and you’re good to go!
Step 2:
Open a new slideshow either in Google slides or Microsoft Powerpoint. For the purposes of this tutorial, we will continue to provide instructions for Google Slides, but a similar process can be followed in Powerpoint.
Step 3:
Insert an image as the background. We used Google slides and clicked “Change background” and then “Choose Image”. From that screen, click the last tab, “Google Image Search.” In the search bar, type in keywords to find what you’re looking for. We used “wall and floor” to find a version we liked. Click “insert” and “done.”
Step 4:
Time to customize! What do you want in your bitmoji classroom? We like a whiteboard, a couch, a clock, a rug, shelves, etc. On this step, it’s important to put items that link to each of the other spaces in your virtual classroom. For example, on this image below:
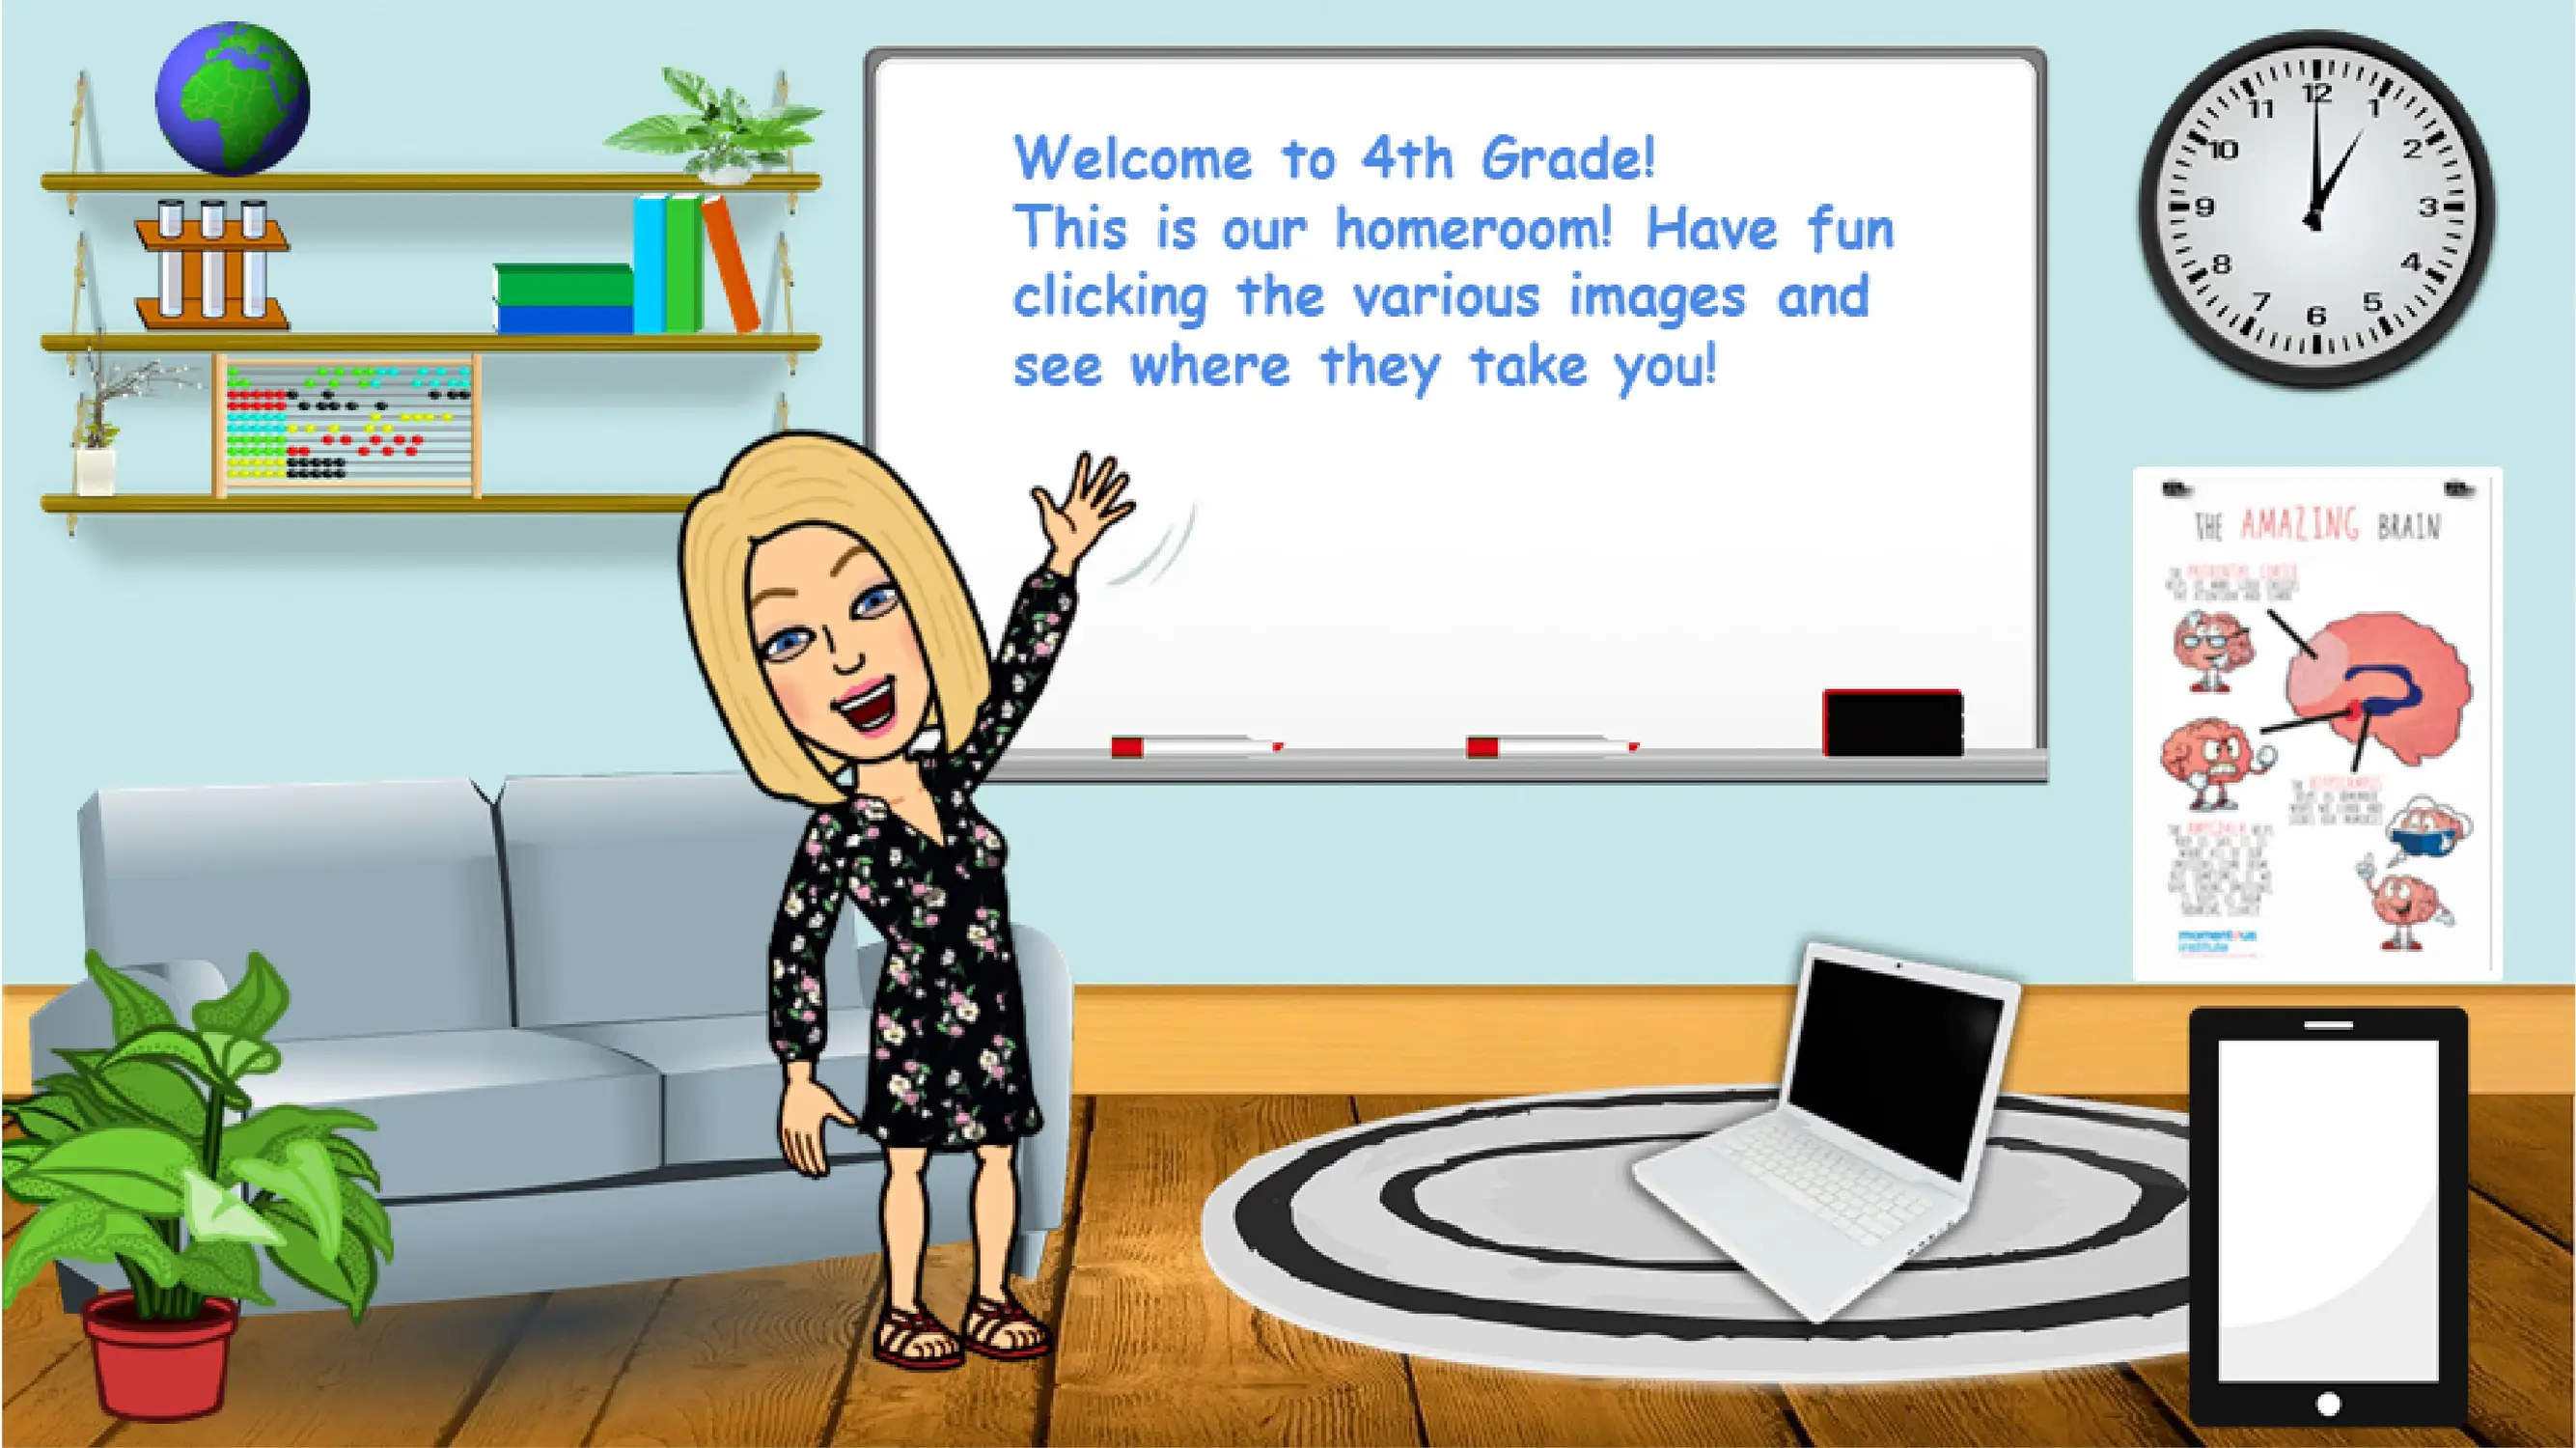
The globe links to the geography area
The test tubes link to the science area
The abacus links to the math area
The books link to the reading area
The clock links to the daily schedule
The brain poster links to the social emotional area
To add items, use “Insert” and “Image” and click “search the web”. We found that adding “transparent background” helped make sure the items worked with the background.
Step 5:
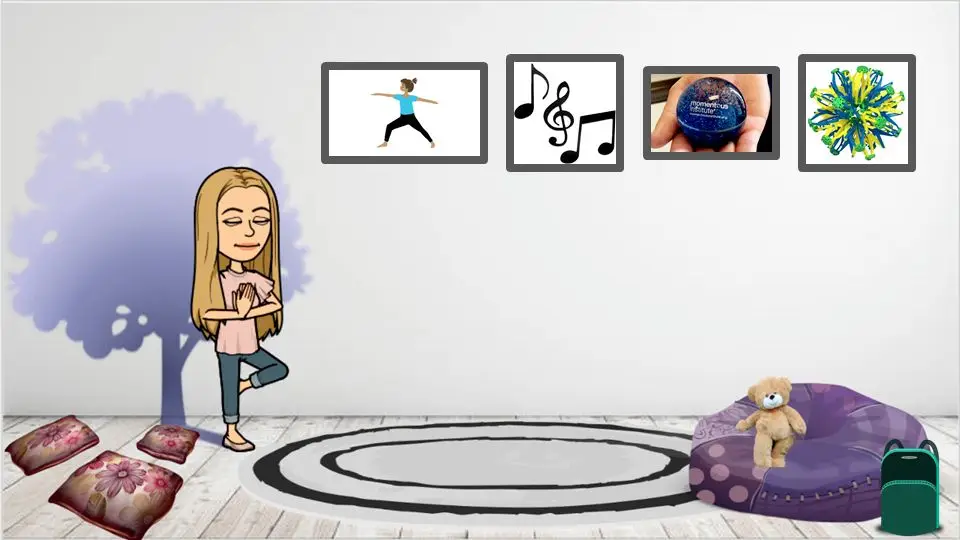
Create additional spaces on separate slides using this same process. Make sure each subsequent slide has an icon that gets them back to the home slide.
Customize, customize, customize! Just like you would in a physical classroom, you can customize your bitmoji room. We have pictures of our families, class pictures of previous classes, etc. And as the year goes on, we can add student work to the walls and rotate displays in and out just like we would do in person.
Step 6:
Link everything up. Items in the first slide (home room) should link to their corresponding pages. You do this by clicking the item and clicking the hyperlink icon (the chain link) and then linking to another slide in the presentation from the dropdown box.
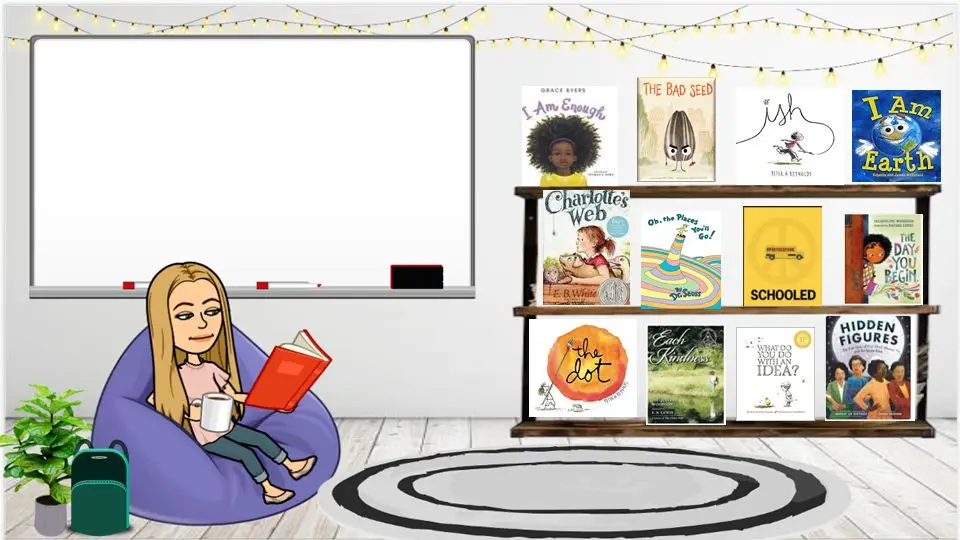
There are also fun ways to link items to external sources. You can put a thumbnail of a YouTube video and then have students click it to open YouTube; we have a bookshelf where each book links to a YouTube read-aloud, or there are countless other ways to get creative with linking!
Step 7:
Put it to use! You can share the presentation with students as “view only” so they can click around but not change anything. This can be set as the homepage of whatever you use as your online platform.
Remember that there are pieces that will need to change, some daily such as the classroom calendar, some weekly such as projects or assignments, and some less often such as seasonally or when adding student work. Think of it like you would update your classroom throughout the year.
It sounds like a lot of work, and yes, we did spend a fair amount of time making these. But not as much as we typically spend setting up a physical classroom each year. We expect that these will change throughout the year, just as we change our classroom throughout the year. So it doesn’t have to be perfect from the start!
During this challenging time for students, we are so excited to have these bitmoji classrooms as students come back to school this fall. They bring us so much joy and we can’t wait to share this joy with our students!
P.S. Here’s a tutorial that walks you through some of these elements and shows it in action if you need additional support!
Share with
Related Resources