
Here's another version of the brain hat. Grab your caulk and get to work making this fun project!
We taught you about how to make a brain hat, and today we want to share a new version with you. We love the brain hats so much that we have several versions! Here is another simple brain hat you can make with kids.
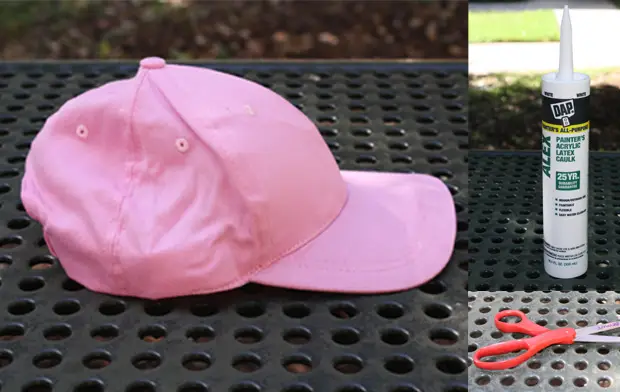
Here’s what you need:
A baseball hat – pink is best! Beige or another brainy color would work too.
Acrylic Caulk – available at a hardware store
Scissors
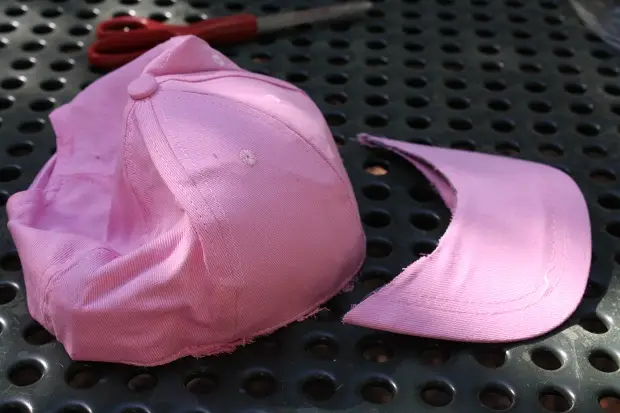
Step One: Take your scissors and cut the brim off of your hat. Truly creative people might find a fun second project using a bunch of pink baseball hat brims!
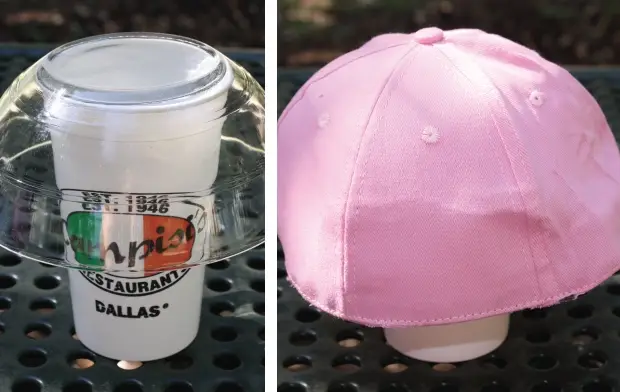
Step Two: Set your hat on something, like a bowl or a roll of paper towels
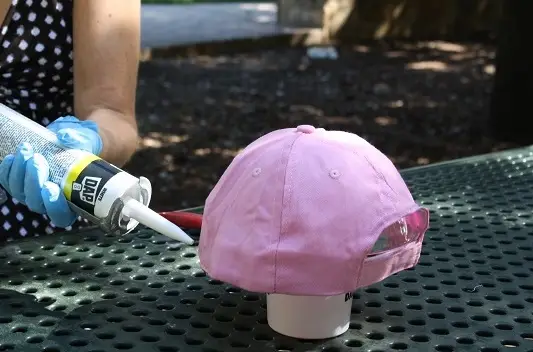
Step Three: Start applying the caulk to the hat. You have to press in with the caulk as you go. The best brain hats are symmetrical across the fold, so start on one side and then try to mirror it as best you can.
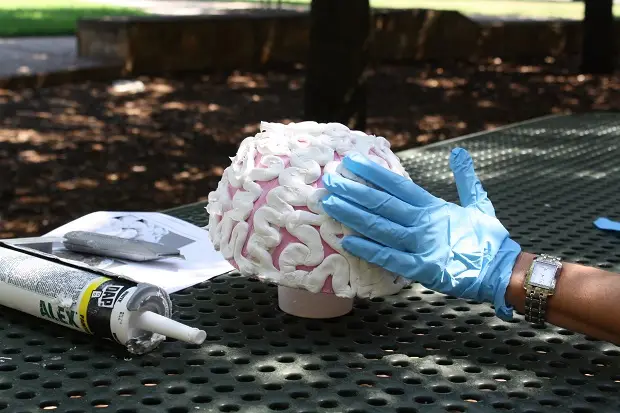
Step Four: Let your hat dry for about 30 minutes, then go back and pat the caulk down to make sure it fits.
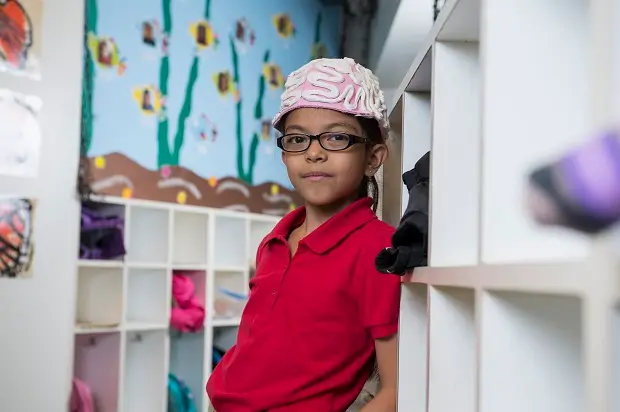
Step Five: Wear your new brain hat around!
Share with
Related Resources